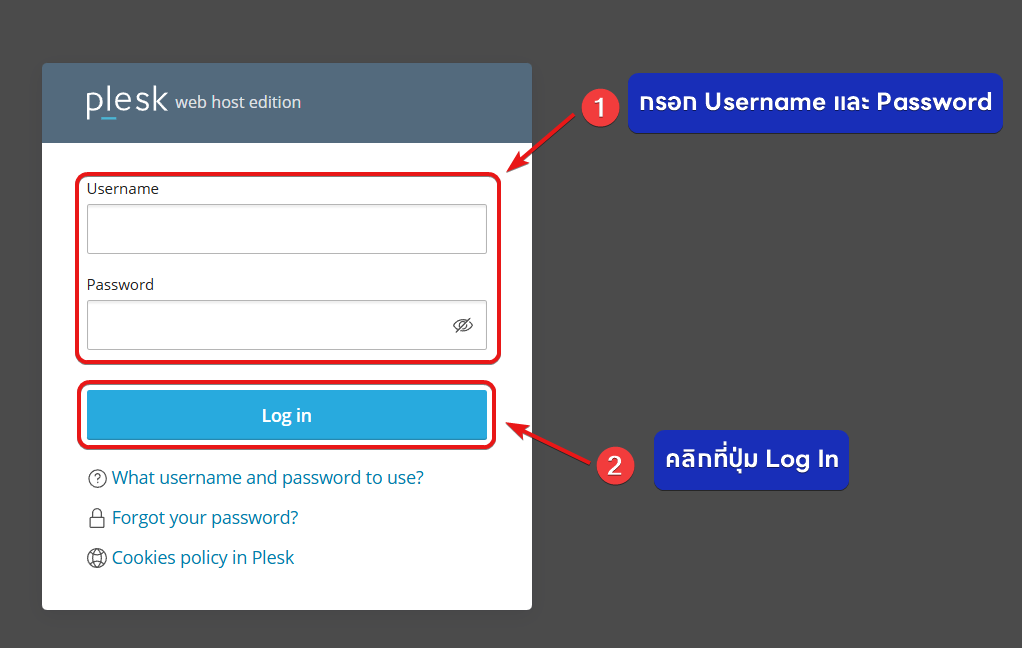
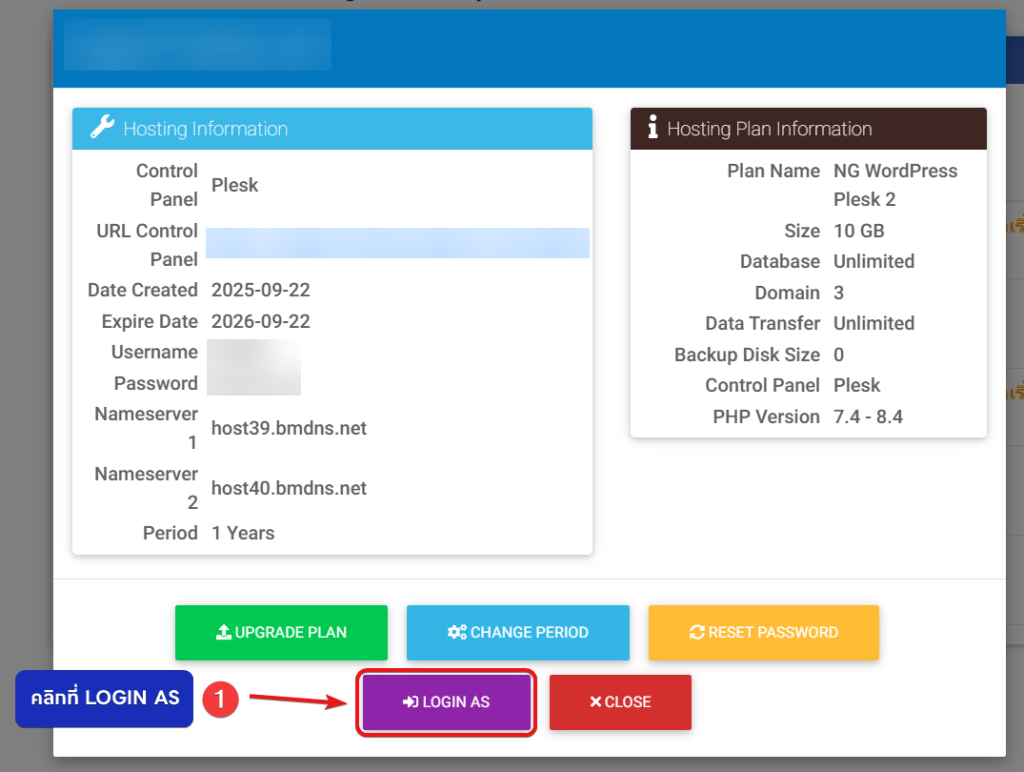
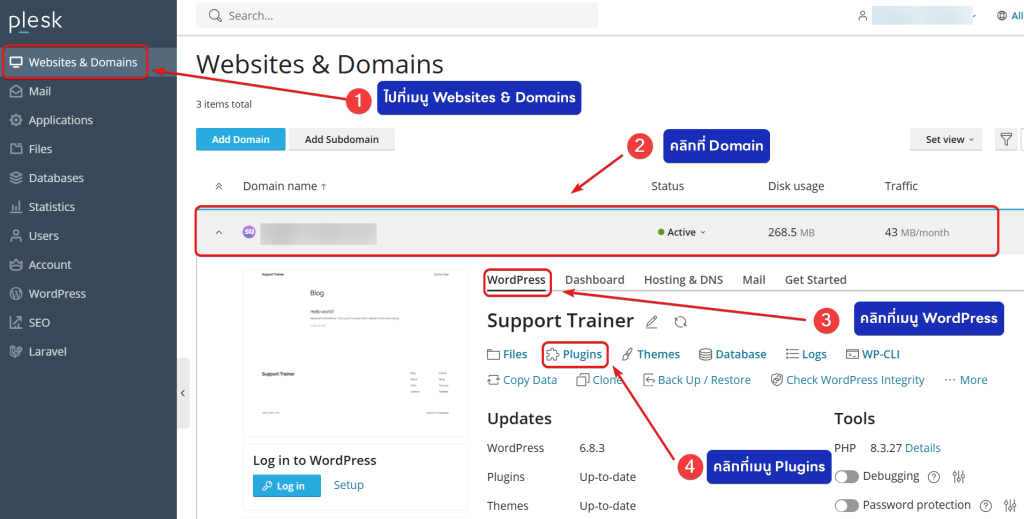
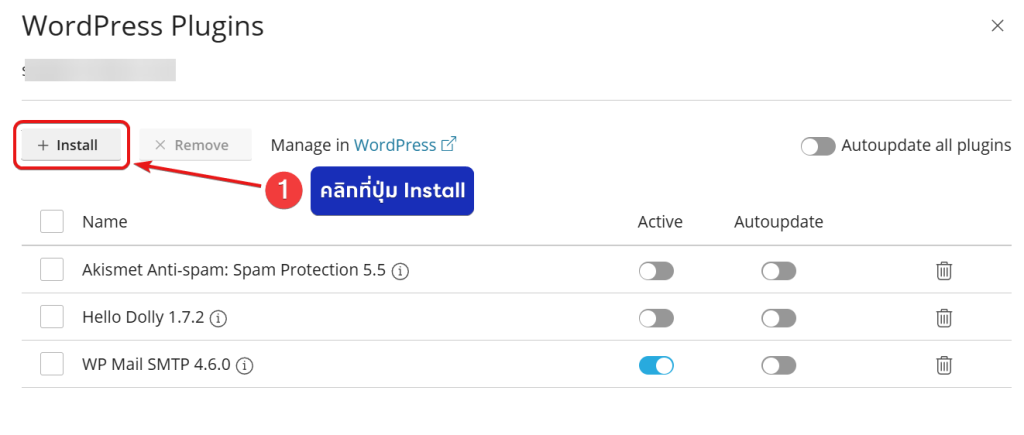
วิธีการติดตั้ง Plugins LiteSpeed Cache สำหรับ WordPress Plesk Control Panel Created กรกฎาคม 3, 2020 Author Bangmod Team Category วิธีการใช้งาน Plesk 1. Login เข้าสู่ระบบ Plesk Control Panel ป้อน Username กับ Password ของลูกค้าที่ได้รับทางอีเมล คลิกที่ปุ่ม Log In เพื่อเข้าสู่ระบบ สำหรับบริการ Hosting สามารถ Login As (1) จากหน้า Hosting ของลูกค้า ใน nest.bangmod.cloud 2. หลังจากเข้าสู่ระบบ Plesk Control Panelไปที่เมนู Websites & Domainsคลิกที่ Domainคลิกที่เมนู WordPressคลิกที่ปุ่ม Plugins เพื่อทำการติดตั้ง Plugins LiteSpeed Cache 3. หลังจากคลิกที่เมนู Plugins จะมีหน้าต่างสำหรับจัดการ Plugins ให้คลิกที่ปุ่ม Install (1) 4. ทำการค้นหา Plugins LiteSpeed Cache (1) หลังจากนั้นทำการคลิกที่ปุ่ม Install (2) เพื่อติดตั้ง Plugins LiteSpeed Cache 5. ระบบทำการติดตั้งและ Activate Plugins LiteSpeed Cache ให้เรียบร้อยแล้ว ภาพตัวอย่างการทดสอบเว็บไซต์ (ภาพบนแสดงให้เห็นก่อนใช้ LiteSpeed Cache ภาพล่างแสดงให้เห็นหลังใช้ LiteSpeed Cache) Was this article helpful? Yes No